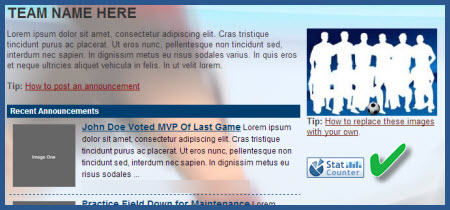
How do I install StatCounter using Google Sites?
- Sign up for a free account at StatCounter and follow the steps to create your first project and generate your StatCounter code.
- If prompted, make sure to choose Google Sites from the list of Installation Guides.
- Copy the StatCounter code.
- Log into your Google Sites account (opens in a new window)
- Click on the "Edit Page" icon at the upper right (resembles pencil).

- Under "Insert, select "HTML Box".

- Insert your StatCounter code in the HTML Box and select "Save".

- When you press "Save" you will see an element labeled "HTML Box" on your page.

- You can now drag and drop this box where you'd like on your site. For example, in your sidebar, or towards the bottom of your page. Once you have your HMTL Box where you'd like it, select "Save" from the upper right corner.
- If you have selected a visible counter or StatCounter button you wil now see your StatCounter element on your page.
 Note: Google Sites will not allow use of the full JavaScript version of your StatCounter code to be installed. For this reason, some stats will not be available to you - including Keyword Activity, Referring Links and Page Titles.
StatCounter is now active on your Google Sites page and will immediately begin recording visitor information.
These instructions have been compiled and verified: November 2012
Thanks for your feedback!